CentOS6にPostgreSQL、phpPgAdminをインストール方法をご紹介します。
※Centosはインストールされていて、インターネットに接続されている状態でご用意ください。
※SELinuxは無効にしてください。
目次
PostgreSQL9.4のインストール
※インストール前に「yum update」でOSをアップデートしておいてください。
(1)yumコマンドを使ってインストールします。
# wget http://yum.postgresql.org/9.4/redhat/rhel-7-x86_64/pgdg-centos94-9.4-1.noarch.rpm
# rpm -Uvh http://yum.postgresql.org/9.4/redhat/rhel-6-x86_64/pgdg-centos94-9.4-1.noarch.rpm
# yum -y install postgresql94-server postgresql94-devel postgresql94-contrib
(2)初期化を行います。
# service postgresql-9.4 initdb
(3)PostgreSQLの起動とOS起動時に起動するように設定します。
# service postgresql-9.4 start
# chkconfig postgresql-9.4 on
※iptablesが有効な場合は解除します。postgreSQLの初期ポート:5432
PostgreSQLのpostgresユーザーのパスワード設定する
(1)postgresユーザーに移行します。
# su - postgres
(2)postgresユーザーのパスワードを設定します。
-bash-4.1$ psql -c "alter user postgres with password '変更するパスワード'"
-bash-4.1$ exit
※「ALTER ROLE」と表示されればOK
(3)pg_hba.confの設定を変更します。「ident」→「trust」。変更後はpostgresを再起動します。
# vi /var/lib/pgsql/9.4/data/pg_hba.conf

# TYPE  DATABASE        USER            ADDRESS                 METHOD

# "local" is for Unix domain socket connections only
local   all             all                                     trust
# IPv4 local connections:
host    all             all             127.0.0.1/32            trust
# IPv6 local connections:
host    all             all             ::1/128                 trust


# service postgresql-9.4 restart
phpPgAdminのインストール
(1)phpPgAdmin、httpdのインストールの実施
# yum install epel-release
# yum install phpPgAdmin httpd
(2)httpdの起動とOS起動時の設定
# service httpd start
# chkconfig httpd on
(3)configの設定を行います。
# vi /etc/phpPgAdmin/config.inc.php


$conf['servers'][0]['host'] = '';
↓
$conf['servers'][0]['host'] = '127.0.0.1';


$conf['extra_login_security'] = true;
↓
$conf['extra_login_security'] = false;
(4)phpPgAdminのアクセス許可を行います。
# vi /etc/httpd/conf.d/phpPgAdmin.conf

Deny from all
↓
Allow from all


# service httpd restart
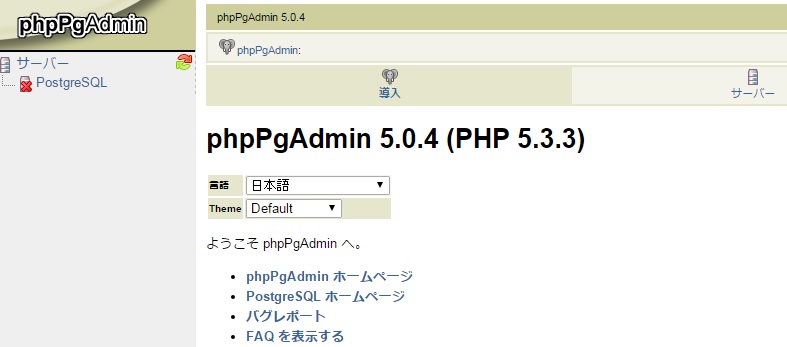
(5)ブラウザでphpPgAdminにアクセスします。
http://サーバーIPアドレス/phpPgAdmin

※アクセスできない場合は、iptablesをオフにしてみてください。
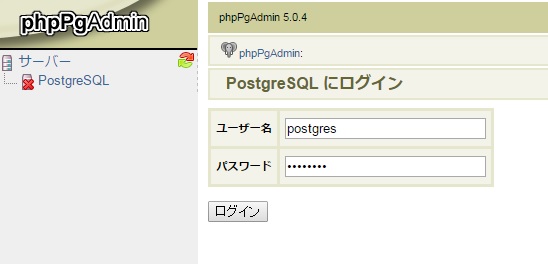
(6)設定したpostgresのユーザーでログインします。

成功すれば下記のようにログインができます。

